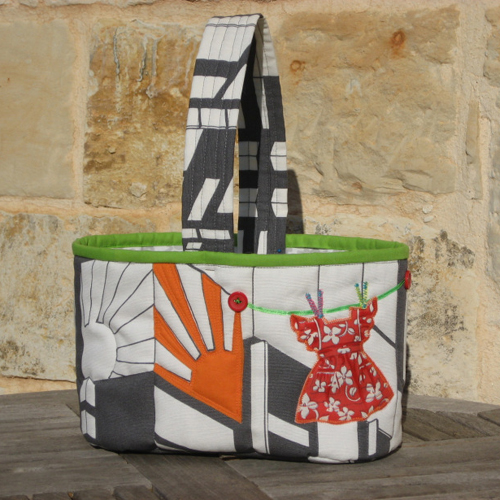
Welcome to the tutorial on how to create a basket of quilt clothes pegs, a creative and practical solution to organize your pegs while adding a touch of charm to your laundry area. In this project, you’ll learn how to combine basic quilting and sewing skills to create a beautiful yet functional basket. Let’s start!
Necessary materials:
Colored fabrics in different prints (we recommend using cotton fabrics to make quilting easier).
Acrylic blanket or quilt filling.
Patchwork ruler and circular cutter or scissors.
Sewing machine or needle and thread.
Embroidery thread (optional).
Iron.
Step 1: Cutting the Fabrics:
To start, select your fabric patterns and cut rectangles approximately 10 cm x 20 cm. The amount needed will depend on the desired size of the basket. You can use a single color or a combination of colors to create a brighter, more eclectic effect.
Step 2: Assembling the Parts:
Now start assembling the basket. Place two rectangles with the patterned sides facing inwards and sew the side edges with a seam allowance of approximately 1 cm. Repeat the process until you form a large rectangle.
Step 3: Quilting:
If you want to add a layer of texture and firmness to the basket, place the basket on top of the acrylic blanket and quilting stitches across the surface, bringing the layers together. You can opt for free quilting or follow a simple pattern to ensure the stuffing is evenly distributed.
Step 4: Closing the Base:
Fold the large rectangle in half, bringing the two smaller ends together, and sew the edges with a 1 cm seam allowance. This will form the bottom of the basket.
Step 5: Creating the Structure:
To shape the basket, fold the top edges outwards, creating a border of approximately 2 cm. Sew the ends together to create the basket’s side frame.
Step 6: Handles (optional):
If you wish, you can add handles to your basket for easy transport. Cut two strips of fabric approximately 4 cm x 30 cm and fold them in half lengthwise. Sew along the folded edge, then attach the handles to the sides of the basket.
Step 7: Finishing (optional):
For a creative finishing touch, you can add decorative embroidery or apply small pieces of fabric over the surface of the basket.
Step 8: Finalization:
Once you’ve finished all the steps, give your basket of quilt clothes pegs one last overhaul. Make sure that all seams are securely fastened and that the finish meets your expectations.
Your beautiful quilt clothes peg basket is now ready to use! In addition to conveniently organizing your clothespins, it will add a charming touch to your laundry area. Feel free to experiment with different fabric patterns and colors to make each basket unique. Have fun and let your creativity flow!
Access the free quilt pattern/ Cloth Pegs Basket Quilt
If you liked this free quilt pattern, but still want to see some more options, we’ll leave you with other quilts below for your inspiration:
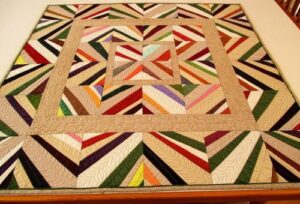
Rosewood Star Quilt Pattern
Twisted Bargello Quilt
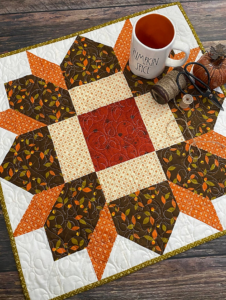
Night Stars Quilt Pattern
We wish all our readers an excellent week, full of blessings, with lots of joy, peace, love and creativity to create the most beautiful quilt patterns. Whenever you want to leave your comments with your works, we love to see the arts of our readers.
With much respect and love, Crochet Step by Step!