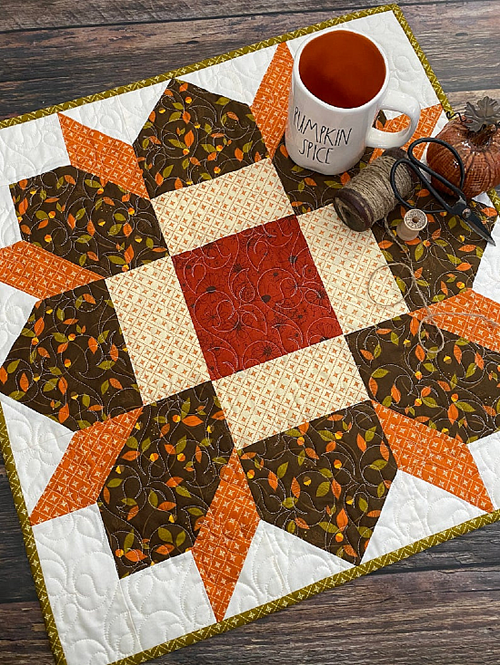
The Rosewood Star Quilt Pattern is a beautiful choice for creating a charming and sophisticated quilt. This pattern features a classic star design, with a variety of creative possibilities to explore colors and fabrics. I will explain, in a simple way, how you can create this stunning quilt with a few basic steps:
Necessary materials:
Cotton fabrics in different colors and patterns for the top of the quilt (the number of fabrics will depend on the size of the quilt you want to create).
Fabric for the backing of the quilt.
Acrylic blanket or other filling material.
Sewing ruler.
Scissors or circular cutter.
Sewing machine or needle and thread for hand sewing.
Iron.
Step 1: Choose colors and fabrics
To create a quilt with an impressive design, choose a color palette that harmonizes well with each other. In the Rosewood Star pattern, traditional colors include shades of red, green, and white, but you can customize the colors to suit your preferences. Combine different prints, such as florals, checks, or stripes, to add more visual interest to the quilt.
Step 2: Cutting the Fabrics
Using the sewing ruler, cut the chosen fabrics into strips, then cut these strips into squares of equal size. The size of the squares will depend on the final size you want the quilt to be. For example, if you want the finished quilt to be 150 cm x 150 cm, cut squares that are 15 cm x 15 cm each.
Step 3: Assembling the stars
The Rosewood Star pattern is made up of a set of squares in a specific configuration. To assemble the star, creatively arrange the squares to create an 8-pointed star. You can follow a predetermined scheme or improvise to create a unique star. Remember to leave space between the squares for sewing.
Step 4: Sewing the parts
After positioning the squares to form the star, start sewing the pieces together. Use a sewing machine or, if you prefer, sew by hand. Make sure the seams line up well for a neat finish.
Step 5: Assembling the quilt
With the star complete, it’s time to assemble the quilt. Place the top of the quilt (the star) with the acrylic batting or other stuffing in the middle, and the backing (back of the quilt) right side down. Secure the three layers with pins or clips to keep them from moving while sewing.
Step 6: Quilting
Quilting is the process of sewing the three layers of the quilt together to ensure the stability and durability of the finished work. You can choose to quilte by hand, sewing decorative patterns all around the quilt, or use a sewing machine to quilte straight or zigzag along the lines at the top of the quilt.
Step 7: Finishing
After quilting, trim the edges of the quilt to ensure all layers are even and aligned. Hem around the entire quilt to finish it off. Now your Rosewood Star Quilt Pattern is complete!
Remember that quilting is a creative art, and there are no hard and fast rules. Feel free to experiment with different combinations of colors and patterns to create your own unique quilt. With practice and patience, you’ll be able to hone your skills and produce stunning pieces!
Access the free quilt pattern/ Rosewood Star Quilt Pattern
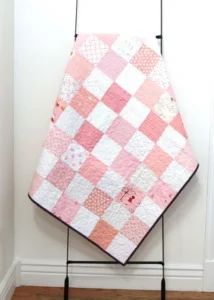
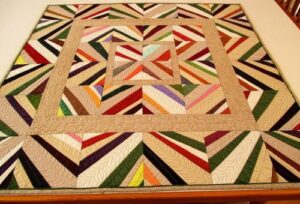
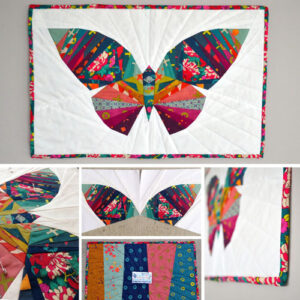
If you liked this free quilt pattern, but still want to see some more options, we’ll leave you with other quilts below for your inspiration:
We wish all our readers an excellent week, full of blessings, with lots of joy, peace, love and creativity to create the most beautiful quilt patterns. Whenever you want to leave your comments with your works, we love to see the arts of our readers.
With much respect and love, Crochet Step by Step!