Pre-Cut Baby Quilt. If you are passionate about quilting and want to start a new project today, this step-by-step guide will guide you in an explanatory, creative and motivating way in creating a beautiful baby blanket. Let’s start!
Necessary materials:
Pre-cut fabrics for quilting (with coordinating patterns or colors you love).
Cutting ruler, rotary cutter and cutting mat.
Sewing machine and matching thread.
Safety pins.
Batting (quilted) for baby blanket.
Iron.
Spacious work plan.
Step 1: Choosing Fabrics
Selecting pre-cut fabrics is an easy way to get started. Choose a color palette that matches the baby’s room or that simply delights him. Soft, delicate patterns are ideal.
Step 2: Cutting the Fabrics
Using the cutting ruler and rotary cutter, cut the fabrics into squares or strips, depending on the pattern chosen. Remember to follow the instructions for the specific pattern you chose.
Step 3: Organization of Blocks
Arrange the blocks or strips of fabric in the desired order. This allows you to preview what the blanket will look like before you start sewing. Play with the combinations until you find the perfect arrangement.
Step 4: Sewing the Pieces
Sew the blocks or strips together using a sewing machine. Be sure to use a consistent seam allowance to ensure all pieces fit together perfectly. Press the seams with an iron.
Step 5: Top Assembly
Join the sewn blocks together to form the top of the blanket. Again, follow the pattern instructions to ensure correct assembly.
Step 6: Adding Batting
Place the batting on a clean, flat surface. Place the top of the blanket over the batting, smoothing it out to remove any wrinkles.
Step 7: Fixing the Layers
Use safety pins to secure the layers of the blanket – the top, batting and backing. Make sure everything is stretched and smoothed out.
Step 8: Quilting
Now, it’s time to start quilting. You can choose between hand or machine quilting depending on your preference. Explore simple patterns like straight lines or more intricate patterns.
Step 9: Finishing
After quilting, trim the edges and add a border if desired. Be sure to follow the pattern instructions for the finishing touches.
Step 10: Enjoy Your Completed Work
Your baby blanket is ready! Admire your creation and feel the satisfaction of having made something special for a loved one.
Remember, quilting is a relaxing and rewarding art. Feel free to add your personal touch and have fun during the creative process. With each stitch, you will be creating a unique piece full of care.
Access the free quilt pattern.
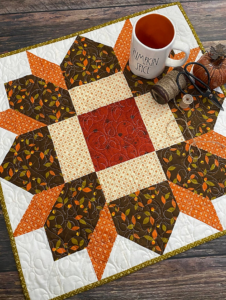
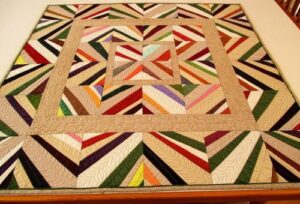
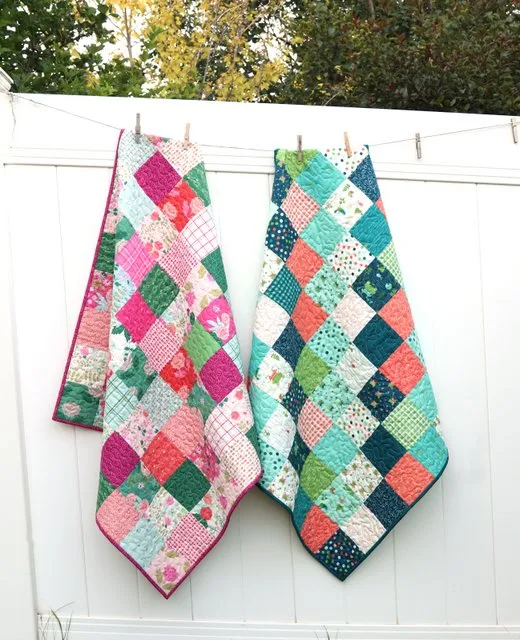
If you liked this free quilt pattern, but still want to see some more options, we’ll leave you with other quilts below for your inspiration:
HEART QUILT BLOCK MADE WITH SCRAPS
We wish all our readers an excellent week, full of blessings, with lots of joy, peace, love and creativity to create the most beautiful quilt patterns. Whenever you want to leave your comments with your works, we love to see the arts of our readers.
With much respect and love, Crochet Step by Step!